
Make your art inmortal for ever: accidents can happen to your artworks, so having a good photographic documentation of your pieces is paramount.
In this article, I will reveal some guidelines based on my experience and research that will help you keep the memory of your masterpieces.
Shoot first, frame later
Photograph your work before framing it. Glass can produce reflections that will distort the image and colors. You may find bright spots or reflections in the image that you don’t want in it. Photograph before moving on to the finishing process.

Take natural light as your first choice
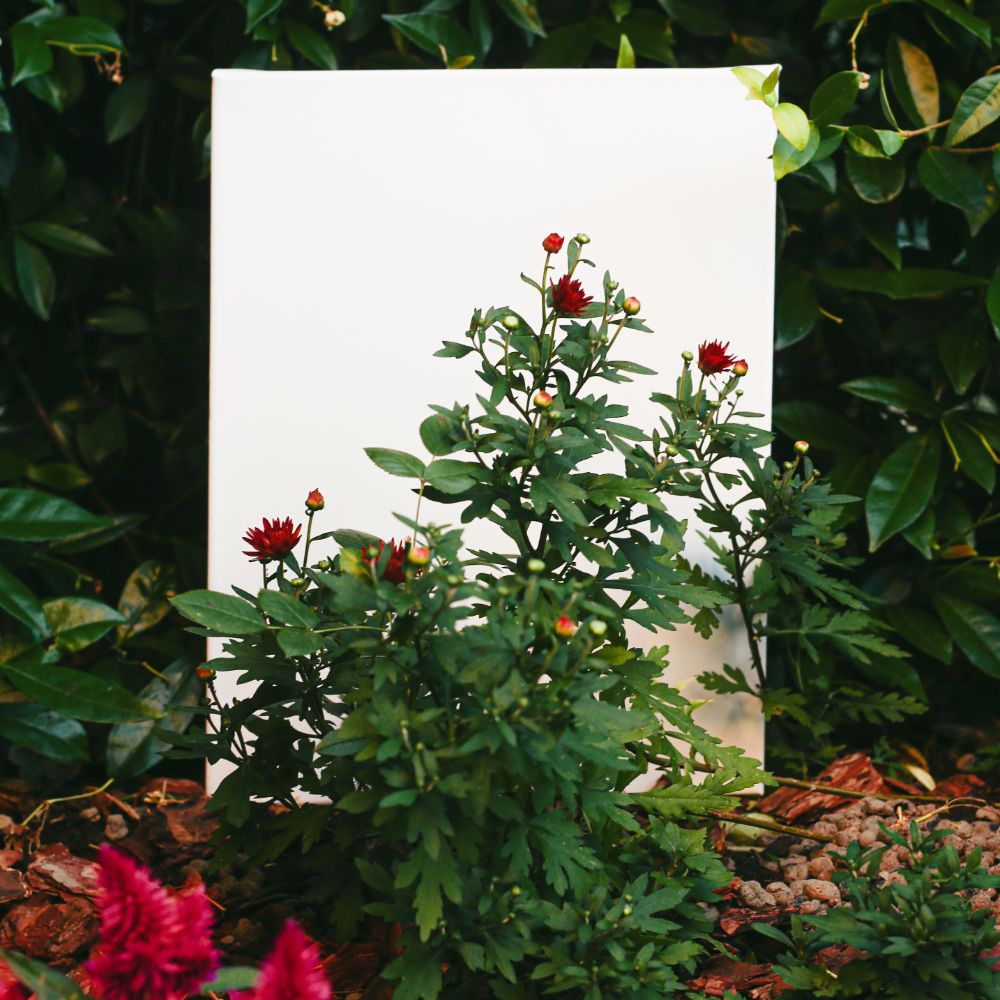
Photograph your work outdoors: it is the best way to obtain a faithful image. Clouds act as a diffuser that makes light appear to be coming from all angles rather than a specific point.
Turn off your flash
Using a flash can fade color, create highlights and bright spots. Take your photos where there is enough natural or artificial light.
Use daylight bulbs in dark areas of your home or office. Try to take your photos in the early morning or before dark, when the light is good, but not too bright.
Use a good camera
The mobile phone can be good for taking photos and posting them on social networks, but not for high-resolution photos of your artworks that you can use for your contests, for your website, for catalogs, for your portfolio.
You need a digital camera that you can adjust to your needs.
Which is a good camera to start with? A 35mm digital camera with a resolution of at least 14 megapixels, in RAW + (large) JPEG format. Or contact a professional photographer: don’t see it as an expense, but as an investment in your art business.
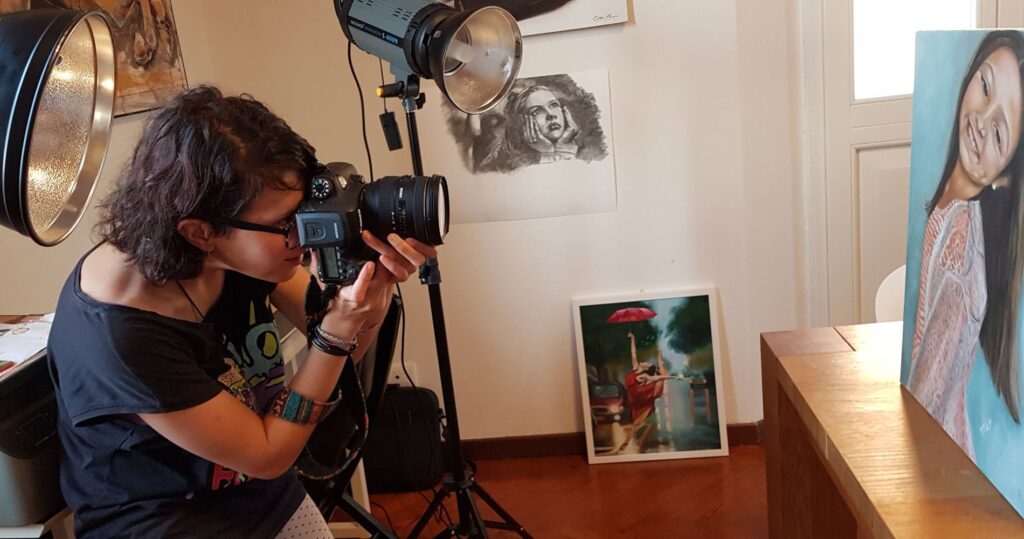
Prepare the set in advance
If you take the photos at home, hang your artwork on a neutral colored wall (white, black or gray) at a height where the center of your painting is parallel to where the camera is – use a tripod or table or other surface . Then:
- Place the artwork at a 45-degree angle from the light source to avoid glare.
- Position the lights midway between the camera and the canvas at a 45 degree angle facing the wall (this will help eliminate shadows and “hot spots” in the painting). If you have an umbrella for the lights, use it.
- Place the box on a white background and make sure it is straight and not tilted to avoid distortion.
- If you don’t have a tripod, place the camera on a table or stack of books so that it is parallel to the frame.
Take the picture
Adjust the white color on your camera or use the automatic settings. Set the zoom to avoid distortion. You can start with a medium zoom. A good place to start is medium zoom.
Frame the work in the center of the view with a white border around it, so you have room to edit the photo later.
Take several photos and review them on your computer before dismantling the setup.
You may need to further adjust the settings or camera angle to get a better shot.
Edit and post-produce
Once you have the best photo of your artwork, it’s time to improve it.
Use Photoshop or Lightroom or a free photo editor like Snapseed to crop the image and adjust the color and tone of your photo.
Use these editors to remove reflections or dust spots that may have accidentally appeared on your photo.
You can also resize the photo to fit the requirements of the platform where you want to upload it if necessary. You can use Birme.net.
Save your photo to a file or pendrive so you know where to find it.
Create a folder on your computer for photos of your work.
Every time you finish a painting, take the photo and put it in the folder; Name the file with the title, size and date of the work. You can also keep a low resolution version.
Having order will allow you access to the cataloged photos every time you participate in a contest, an exhibition or if you want to have a gallery or collector.
I hope these tips can help you.
How do you take the photographs? Do you use a camera or do you trust a professional?
Sources:
trembelingart.com; willkempartschool.com
0 Comments